Monday, February 28, 2011

Waffles.....


I simply can't believe that I have never posted this recipe. It re visits our breakfast table weekly and on days like today it even makes it's appearance at lunch time. These also freeze well so if you have extra leftover throw em in a freezer bag once they are completely cooled and just pop em in the toaster when you need them.
I used to own a cheap little $14 waffle maker from wall-mart but over the holidays I purchased this beauty with some gift cards I had received. So worth every penny.... it is simply fantastic. I first bought a Food Network brand waffle maker but it broke on the first waffle I made....can you believe that??? And of course it was on day when we had company for breakfast. I was so mad and took it back. While I was browsing all the different ones they had an older Swedish (how fitting) gentleman chatted me up and recommended that I go to a totally different store and get the round one. At first I dismissed him but then decided to take his advice and I'm glad I did. This thing is AWESOME!!! Now don't get me wrong my little $14 waffle maker did the trick for many years and it was fine but this baby makes them nice and thick and fluffy and cooks them eavenlly and the timer works just right.

I have been using this recipe for a couple years now. I keep meaning to try something new....different....but sometimes you just don't mess with something that aint broke :)

Waffles

2 cups flour
2 Tbs sugar
1/2 tsp salt
3 tsp baking powder (haha ok a little side note here DO NOT use baking soda like my sometimes so helpful husband did the other day) 
2 eggs seperated
1 3/4 cup milk
1/4 cup melted (cooled) butter
1 tsp vanilla (optional) 

Directions:

 First you want to beat your egg whites with an electric mixer until nice and stiff then set aside. If you have a kitchen aid then while they are beating mix your dry ingredients in a bowl (flour, sugar, salt, baking powder, not soda :) ) If you do not have a stand mixer it's always a good idea to get these mixed before hand. 
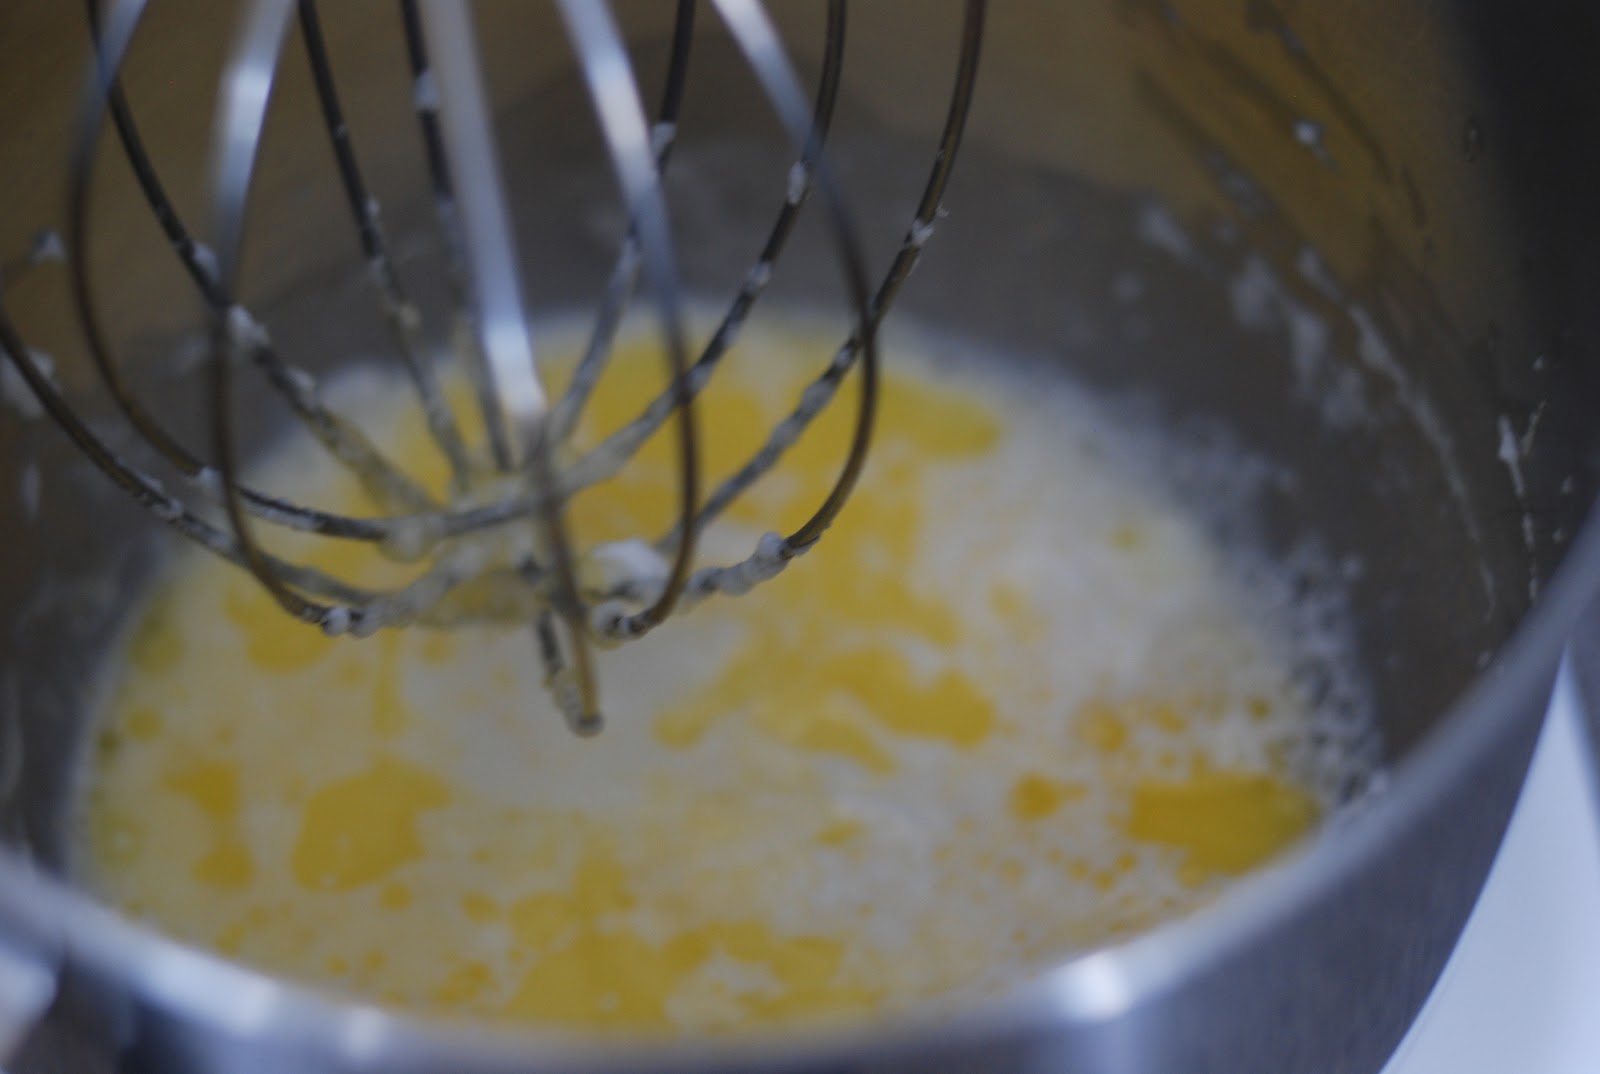
Next you want to mix your wet ingredients together (egg yolks, milk, butter, vanilla) Make sure your butter is melted but not hot otherwise it will cook your eggs and you do not want that. I usually melt mine in the microwave and just let it sit out a while. Then add the flour mixture and beat till well combined. About 3 minutes. 
And the last step is to gently fold the egg whites into your batter....there all done. 
Make sure you do not overfill your waffle maker or you will end up with a mess. 
Mine came with a nifty little measuring cup and it ensures that I do not overfill. 
Sometimes I do under fill tho but it's better than a mess. oooo did I mention that this one makes two at a time :) 
 They can't get enough!!!
No this was not our breakfast it was lunch and YES they are still in their jammies!!!! DO NOT judge I am nesting and have been running around like a crazy woman cleaning EVERY nook of our house. They don;t mindandit'sonly been two days and my house is almost all clean now.....wish it meant that this baby would make it's appearance already.
purrrrrrfection..........enjoy!!!

Monday, February 21, 2011

Samoa Girls Scout Cookies

It's Girls Scout season and I was so upset when ehh hemmm my sister did not order these cookies for me from her daughter this year. They are my favorite....I LOVE EM!!! When I saw this recipe I just had to try it. They are simply delicious and even better than the ones you order.....don't tell the Scouts I said that don;t want any angry girls at my door step. 

They are a bit of a fuss to make or maybe it's just that I'm 9 months pregnant and my back hurts and my belly is in the way either way they are worth the effort.


Samoa Girls Scout Cookies, adapted from A Bicycle Built for Two

Ingredients for the cookie:
  • 1 cup softened butter
  • 1/2 cup sugar
  • 2 cups all-purpose flour
  • 1/2 teaspoon salt
  • 1/4 teaspoon baking powder
  • 1/2 teaspoon vanilla extract
  • 1 tablespoon milk
Directions:
Preheat oven to 350F.
Cream together butter and sugar in a large bowl. Mix in flour, baking powder and salt at a low speed, next, the vanilla and milk, adding in the milk only as needed to make the dough come together without being sticky. The dough should come together into a soft, pliable ball. Add in a bit of extra flour if your dough seems sticky.

It's easiest to roll the dough out in 2 or 3 batches (between pieces of wax (or parchment) paper to about 1/4-inch thickness using a 1 1/2-inch cookie cutter to make rounds. Place on a parchment lined or on silicone mat baking sheet and make a hole in the center. I used a bottle cap. Nicole comments that you can use a knife, or the end of a wide straw, to cut a smaller center hole. Repeat until the dough is used up (it's okay to re-roll, this dough is shortbread-like and very forgiving.)

Bake cookies for 10-12 minutes, until bottoms are very lightly golden brown around the edges.

Cool for a few minutes on the baking sheet, to allow them to firm up slightly, then transfer to a wire rack to cool completely.

Ingredients for topping:
  • 3 cups shredded coconut
  • 12 ounces of caramels
  • 1/4 teaspoon salt
  • 3 tablespoons milk
  • 8 ounces chocolate chips
Directions:
Preheat oven to 300 degrees (F)

Spread coconut evenly on a rimmed baking sheet and toast 20 minutes, stirring every 5 minutes, until coconut is golden. Watch carefully, especially near the end of toasting time; the coconut toasts very quickly once it begins to become golden.
Cool on baking sheet, stirring occasionally. Set aside.

Unwrap the caramels and place in a large microwave-safe bowl with milk and salt. Cook on high for 3-4 minutes, stopping to stir a few times to help the caramel melt. When smooth, fold in toasted coconut with a spatula.
Using the spatula or a small offset spatula, spread topping on cooled cookies, using about 2-3 teaspoons per cookie. Reheat caramel for a few seconds in the microwave if it begins to firm up, to make it soft and spreadable once again.

While topping sets up, melt chocolate in a small bowl. Heat on high in the microwave in 45 second intervals, stirring thoroughly to prevent scorching. (I melted mine stovetop using double boiler method.) Dip the base of each cookie into the chocolate and place on a clean piece of parchment paper (I used silicone baking mats instead). Transfer all remaining chocolate into a piping bag or a ziplock bag with the corner snipped off and drizzle finished cookies with chocolate. (Melt a bit of additional chocolate, if there is not quite enough for each cookie.)
 These are seriously addictive so make them at your own risk. 
This little guy LOVED em!!!

Tuesday, February 1, 2011

Croutons....

It's winter here....I mean it's a cold, windy, snowy blizzard outside and I am very thankful for the warmth of our home this afternoon and the coffee I'm drinking but will be regretting later wen I'm trying to go to sleep. It seems as though this week I have been baking bread a lot. I made loaves of bread, home made hamburger buns and dinner rolls. I have had ends and pieces left over here and there and I just can't let them go to waste. What do you do with leftover stale bread? Sometimes I dry the pieces of bread in the oven on really low heat then throw the bread in a food processor to use for bread crumbs.This time I made these.....
Today since it was so yuckie outside I was craving soup. I could not make up my mind as to what kind of soup to make with what I had on hand but when my hubby finally called at 4:00 that he was on his way home I finally settled on this Broccoli Soup. It was definetly the right decision it was so delicious and comforting. I had all these ends and pieces of bread and diced them up to use them with our soup. I used seasonings that would go well with the soup.
Croutons:

4 cups of diced bread
1/4 cup olive oil
2 Tbsp of butter
1 Tbsp dried parsley
1 tsp onion powder
1 tsp salt
1/4 tsp pepper
pinch of cardamom ( I use this in the soup it makes it extra special)

Directions:

Pre-heat oven to 450 degrees. Melt the butter and add the olive oil and the rest of the seasonings. Spread the diced bread on a cookie sheet and sprinkle the olive oil mixture over the bread then toss all together using your fingers. Bake at 450 degrees for about 10-15 min or till they crisp up and turn a little brown.
They were so yummmmmmooooo!!! Made the soup that much more enjoyable. Here is another combo that I like to use for croutons.

Homemade Garlic Croutons


1 loaf french bread (a few days old or any other bread you want to use up)
3 tbsp olive oil
3 tbsp unsalted butter, melted
4 cloves garlic, chopped
2 tsp salt
1 tsp pepper
1 tsp Italian seasoning

Directions : 


Preheat the oven to 450 degrees F.
Cut the bread  into small cubes. Transfer cubed bread to a parchment lined baking sheet.
Drizzle the bread with the olive oil and butter and then sprinkle with garlic, salt, pepper and Italian seasoning.
Using your hands, gently toss the croutons and make sure they are coated with all the oils, butters and seasonings.
Bake for 10-15 minutes until they are golden brown. Remove from oven and let cool before serving.
Such an easy thing but what a yummy addition. 
 Ohh and speaking of buns :) yes this little baby bun is still baking!!! I am 31 weeks today and ready for the arrival but not till he is good and ready :)

LinkWithin

Related Posts Plugin for WordPress, Blogger...