Sunday, April 22, 2012

Frosting

Buttercream Frosting (adapted from Delish)

INGREDIENTS
6 large egg yolks
3/4 cup sugar
1/2 cup liquid corn syrup
2 cups (4 sticks) unsalted butter, room temperature
vanilla or other flavoring (for this one I used 1 tsp strawberry strawberry flavor and 1 cup of strawberry puree)

Have a large greased glass measure near the stove. In the bowl of an electric mixer, beat the egg yolks until they are pale in color and thick, 3-5 minutes. Heat the sugar and corn syrup in a medium saucepan......stirring constantly, until the mixture comes to a rolling boil, immediately transfer to the greased glass measure to stop the cooking.Pour a small amount of the syrup over the eggs in the mixer, and beat until incorporated. Continue until all the syrup is used up, and the mixture is pale and sticky, like liquid taffy. Continue beating until the mixture is completely cool (or you will melt the butter and ruin the frosting) Beat in the butter, one stick at a time, waiting until each is incorporated before adding in the next. At this point, you may also add in any flavoring.

Wednesday, January 25, 2012

These scones are so delicious.....buttery....flaky......soft........flavorful......delicious.....they make me feel warm and fuzzy inside! I have eaten WAY too many of them already today!

Ingredients:
  • 2 cups unbleached all-purpose flour
  • 1 tablespoon baking powder
  • 3 tablespoons sugar
  • 1/2 teaspoon salt
  • 5 tablespoons cold unsalted butter, cut into 1/4-inch cubes
  • 1 teaspoon grated lemon zest
  • 1/2 cup blueberries
  • 1 cup heavy cream
  • 1 tablespoon lemon juice
  • 3/4 cup confectioners’ sugar, sifted
Directions:

  1. Preheat oven to 425 degrees F.
  2. Place flour, baking powder, sugar, and salt in the bowl of a food processor fitted with a metal blade. Process with six 1-second pulses.
  3. Remove cover of food processor and sprinkle the butter evenly over the dry ingredients. Add the grated lemon zest. Cover and process with 12 1-second pulses.
  4. Transfer dough to a large bowl. Mix in blueberries with your hands. Add heavy cream and mix with your hands until dough begins to form.
  5. Gently knead dough by hand until it comes together into a rough ball, about 10 seconds.
  6. To shape the scones, lightly dust an 8-inch cake pan and press dough into the pan, then turn the dough onto a lightly floured work surface. With a sharp knife, cut the dough into 8 wedges.
  7. Place wedges on an ungreased baking sheet and bake in preheated oven 12 to 15 minutes or until tops of scones are a light brown. Transfer to a wire rack for at least 10 minutes before serving.
  8. While the scones are cooling, make lemon glaze. Combine lemon juice and confectioners’ sugar until you achieve a thick, opaque icing. Drizzle over scones.

Tuesday, January 10, 2012

Peanut Butter Oat Bites

Peanut Butter Oat Bites

2 Tbsp unsalted butter
2/3 cup creamy peanut butter
1/4 cup confectioners sugar
3 Tbsp honey
1 tsp vanilla extract
1 1/2 cup Rice Krispies cereal
1 cup quick oats
1/4 cup coconut
1/4 cup mini chocolate chips
1/4 cup finely chopped lightly salted dry roasted peanuts

Melt the butter in a medium saucepan over medium heat. Remove from heat and stir in the peanut butter, confectioners sugar, honey and vanilla. Stir in Rice Krispies and oats. Allow mixture to cool. Stir in coconut and chocolate chips. Form into 1 inch balls ( I like to make them about half that size) then roll each ball in the chopped peanuts, pressing to coat. Store in an airtight container in refrigerator.

Wednesday, June 15, 2011

Steel cut oats


I wonder when my kids are going to get sick of me making steel cut oats for them?!?! We have them for breakfast sometimes lunch and sometimes even supper....I love them!!!

There are so many good reasons to eat them besides the fact that they are delicious. Steel cut oats are very nutritious and a healthy addition to any diet.

Steel cut oats are unrefined whole grain groats that have been dried and cut into two to three pieces by steel, rather than being rolled. They are rich in B-vitamins, calcium, protein and fiber. They look like tiny grains of rice or chopped up nuts. You can find them in most grocery stores. I buy mine at Target in the oats section. Steel cut oats take longer to cook than rolled oats, about 30-40 minutes, but they are so worth the wait. You can also cut down on the cooking process by soaking the oats overnight. I will often just get them in the pot before I go to bed and just start them up right when my monkeys wake me up in the morning.

Another thing that I love about steel cut oats is the texture and the fact that flavor combinations are limitless.  My favorite is banana nut with brown sugar. My kids love blueberry and cinnamon. You can sweeten the oats with, sugar, brown sugar, splenda or honey and add your favorite fruit or peanut butter, vanilla, or chocolate powder.

Basic Cooking Directions

  • 1 cup steel cut oats
  • 3 1/2 cups water
  • Pinch of salt
  • 1/2 cup skim milk

1. Bring the water to a boil in a large pot. Add the steel cut oats and and salt. Stir.

2. Reduce the heat to medium low and cook for 30 minutes. Make sure you stir the oats occasionally so they don't stick to the pan.
3. When the oats start to thicken, at about 30 minutes, add in the milk. I think the milk makes the oats creamier. Stir the oats and milk together and cook for ten more minutes.
4. Add in the topping of choice.

Serve the oats hot. If you want you can let the oats cool and then portion them out into smaller containers. To reheat, I add a splash of milk and reheat in the microwave for 1-2 minutes.

NOTE:  you can omit the milk and just use 4 cups of water but I like my oats a little creamier so I add the milk. Also to cut the cooking time in half pre-soak the oats overnight.

Monday, June 13, 2011

Coffee Toffee Cheesecake

cI have been good.....I have been really really good. I have 8 pounds left to loose and I fit into my clothes again and I feel like I can give myself a little bit of a break. To celebrate my accomplishment I made myself my favorite treat...cheesecake. I got this recipe out of a magazine but I can't even remember which one. I've made it before and it has become our favorite cheesecake recipes. It's chocolaty, creamy, smooth with a hint of coffee and just simply divine. I made it yesterday hubby and I both had a slice and then we dropped the rest of it this afternoon for his co-workers to enjoy so that it was out of the house and we would not be tempted to eat more. His co workers have been enjoying my baking goods lately :) I love to bake but since I cant eat those delicious treats I just send them to work with hubby :) it's a win win!!

Coffee Toffee Cheesecake


Ingredients:
  • 2 1/2 cups crushed Oreo cookies (you can either use a food processor or place the cookies in a zip lock bag and use a rolling pin to crush them)
  • 1 cup semi sweet chocolate chips (6oz)
  • 1/4 cup heavy whipping cream
  • 4 tsp instant coffee
  • 3 pkg (8oz) cream cheese 
  • 1 1/3 cups sugar
  • 1 1/2 cups sour cream (12oz) 
  • 1 Tbsp vanilla
  • 1/8 tsp salt
  • 3 eggs lightly beaten
Optional:
  • 4 Heath candy bars (1.4 oz each) chopped
  • 1 dark chocolate candy bar
Or:
  • 1/2 cup melted milk chocolate


Directions:

Place a greased 9-in springform pan on a double thickness of heavy duty foil. Securely wrap foil around pan. Press the cookie crumbs onto bottom and 1 inch up the prepared pan. Place pan on a baking sheet. Bake at 350 degrees for 10 minutes. Cool on a wire rack.

In a microwave safe bowl, melt the chocolate chips and cream; stir until smooth. Stir in coffee granules until dissolved. Set aside. In a large bowl, beat cream cheese and sugar until smooth. Beat in the sour cream, vanilla and salt; gradually beat in chocolate mixture. Add eggs; beat on low speed just until combined. Pour into crust. Place springform pan in a large baking pan; add 1 1/2 inches of hot water to the larger pan bake at 350 degrees for 55-65 minutes or until center is just set and the top appears dull. Remove springform pan from water bath. Cool on a wire rack for 10 minutes.

Carefully run a knife around edge of pan to loosen; cool 1 hour longer. Refrigerate overnight.

OK now for the top there are a few different options.

1. You can melt the chocolate and pour over the top of cheesecake and let it cool. It will create a chocolaty crust over the top. That is what I did this time but I found it difficult to slice through the chocolate when completely cool so my slices were not quite as nice.

2. You can melt the chocolate and pour it onto a wax sheet and spread it out thin then let it set. When completely cool using a spatula scrape it slowly off creating curls to create a pretty topping for the cheesecake.

3. The other option that I can think of is just melting the chocolate and pouring it over individual pieces just before serving for a yummy warm topping.

4. You can also chop the heath bar and sprinkle it on top then melt the dark chocolate and drizzle it over the heath bar.


    Tuesday, June 7, 2011


    Avocado Bean salad = 0ne ymmy bowl of goodness....recipe coming soon!!!

    Friday, June 3, 2011

    Peanut Butter Sandwich Cookies....

    Hi my name is Bernadetta and I am a sugar addict!!! I have been without for 18 hours 23 minutes and 1..2...3...4... seconds!!! Every second I have to be without is PURE torture but I will be strong. 
    These are so so so delicious but you most definitely need a glass of milk to go with them. 

    Peanut Butter Sandwich Cookies

    Cookies
    3/4 cup all-purpose flour
    1/2 teaspoon baking soda
    1/4 teaspoon baking powder
    1/2 teaspoon salt
    8 tablespoons (1 stick) unsalted butter, at room temperature
    1/2 cup creamy peanut butter
    1/2 cup granulated sugar
    1/2 cup packed light brown sugar
    1 large egg, at room temperature
    1 teaspoon vanilla extract
    1 cup quick-cooking oats

    Filling
    3 tablespoons unsalted butter, at room temperature
    1/2 cup creamy peanut butter
    1 cup confectioners’ sugar, sifted
    3 tablespoons heavy cream

    Chocolate for dipping (I used dark but you can use semi sweet or mild)

    Preheat oven to 350 F.  Line two baking sheets with parchment.

    In a small bowl, whisk together the flour, baking soda, baking powder and salt.  In the bowl of a stand mixer fitted with the paddle attachment, beat the butter, peanut butter and both sugars on medium speed until light and fluffy, about 3-4 minutes.  Scrape down the sides of the bowl, then add the egg and vanilla.  Beat to incorporate.  With the mixer on low speed, add the dry ingredients, mixing just until combined.  Finally, add the oats and beat briefly to distribute evenly.

    Use a small cookie scoop to portion the dough onto the prepared baking sheets, leaving about 2 inches between them.  Bake for 10-12 minutes, or until the cookies are golden and puffed, and the edges are set.  (I did 12 cookies per sheet and baked only one sheet at a time.)  Transfer baking sheet to a wire rack and let the cookies cool on the sheet for 5 minutes then transfer then to the wire rack to cool completely.  Repeat to bake all dough.

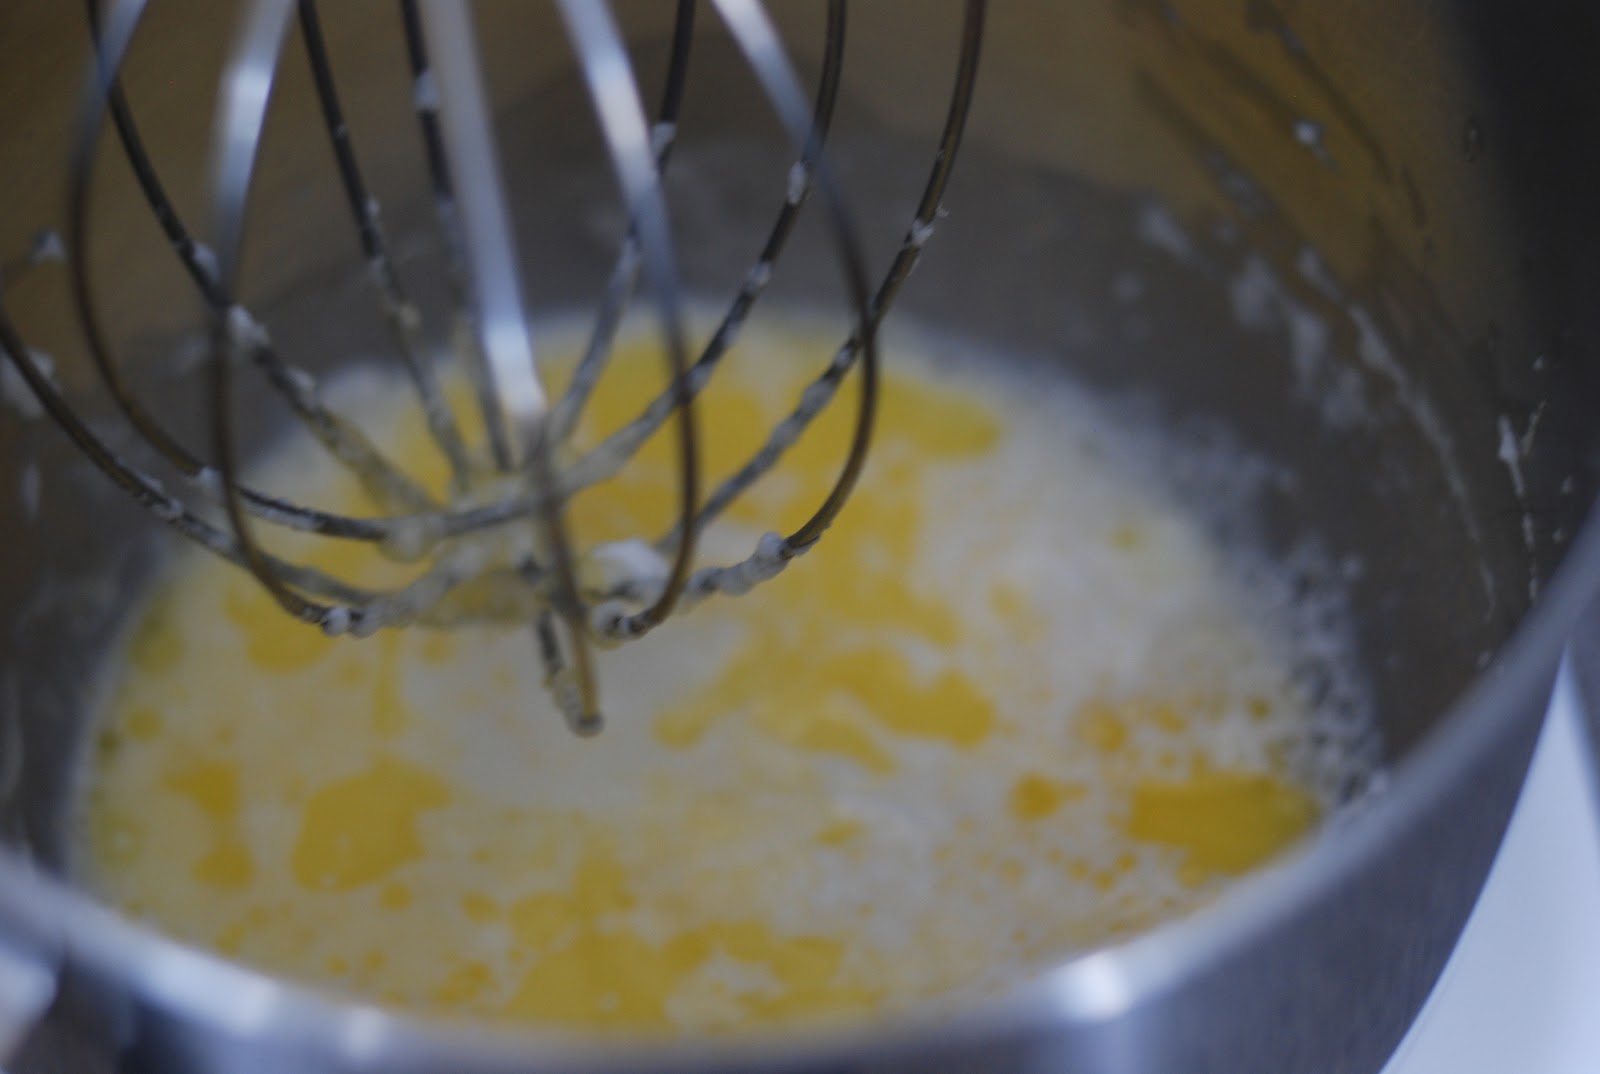
    To make the filling: Combine the butter, peanut butter and confectioners' sugar in the bowl of a stand mixer fitted with the paddle attachment.  Beat on medium speed until smooth.  Add the heavy cream and beat until fluffy.  Match the cookies in pairs by size.  Transfer the filling to a piping bag and pipe a small amount onto the flat side of one cookie of each pair.  Sandwich the cookies together, and press the filling to the edges.  

    Melt the chocolate in the microwave then dip the cookie half way in the chocolate set on some parchment paper and cool. TIP: if the chocolate is too thick you can mix in a tablsp of shortening to make coating easier!!

    Makes about 18 sandwich cookies


    Tuesday, May 24, 2011

    I am weak....

    What can I say I love food. Now even though my hubby is gone all day today I will have to figure out a way to go running to burn some of this off....sigh. I need a triple jogging stroller!!!!

    This recipe would work well for individual servings too just make sure you use oven safe dishes :) 

    Strawberry Rhubarb Crisp

    Ingredients: 
    • 1 cup white sugar
    • 3 tablespoons corn starch (you can also use all-purpose flour)
    • 3 cups sliced fresh strawberries
    • 3 cups diced rhubarb
    • 1 1/2 cups all-purpose flour
    • 1 cup packed brown sugar
    • 1 cup butter
    • 1 cup rolled oats
    • 1/4 cup slithered almonds, optional
    • 1/4 cup chopped walnuts or pecans, optional
    Directions:
    1. Preheat oven to 375 degrees F (190 degrees C).
    2. In a large bowl, mix white sugar, 3 tablespoons flour, strawberries, and rhubarb. Place the mixture in a 9x13 inch baking dish.
    3. Mix 1 1/2 cups flour, brown sugar, butter, oats and nuts until crumbly. You may want to use a pastry blender for this. Crumble on top of the rhubarb and strawberry mixture.
    4. Bake 45 minutes in the preheated oven, or until crisp and lightly browned. 
    5.  
       A yummy iced coffee with a piece of this crisp enjoyed in PEACE and QUIET while all 3 of my boys napped....yes all 3 at the same time :))))))

      Avocado Butter....

      I don't know about you all but I love Avocado. I would eat it here or there I would eat it anywhere. I would eat it on a boat I would eat it with a goat.....ohh boy I do I need to get out and be amongst adults!!!
      Our little baby boy is 2 months old now and I still have a little over 10 pounds of baby weight to loose...sigh. I hate dieting. But it's foods like this that keep me going. I did make my hubby his favorite strawberry rhubarb crisp and though my lunch was simply delicious and satisfying that evil dish is staring at me from the kitchen calling me...eat me....eat me. I will be strong!!!

      Avocado Butter:

      1/2 avocado
      1/2 tsp kosher salt, or to taste
      1/4 tsp freshly ground pepper, or to taste
      1/2 tsp fresh chopped cilantro (basil is delicious too)
      1 tsp of mayo (I used light)
      1/2 tsp lime

      Directions:

       Cut the Avocado in half and twist. The pit will stay on the one side.
       Using a spoon scoop out one half of the avocado onto a cutting board and place remaining ingredients on top, except lime. Using a fork mash them all together till nice and creamy. You could also use a food processor for this part.
       Drizzle with lime and continue mixing. You can skip this the only reason I used it was because in the middle of making my lunch baby Christopher decided he could not wait to eat. The lime keeps it from turning brown but I really liked the flavor it added.
       This recipe makes just enough butter for one sandwich for me. You could make it go further if you used less but like I said I like me some avocado :) SO here is a little tip....if you did not know this once you cut into an avocado you pretty much have to use it right away or it will turn brown and icky. I found that if you leave the pit in the avocado and drizzle it with a little lime or lemon it will stay nice and fresh longer.
      Just store it in a zip lock baggie with the pit left inside.

      Delicious....you can eat it on a burger, on a freshly baked peace of bread, in tacos, with some tortilla chips, on a sandwich with a spoon or you can eat on a train or in the rain :0 ohh boy Dr. Suss book are stuck in my head. 
      I had mine with a salmon burger on a sandwich thin with a tomato, spinach, and a slice of cheese :) 
      For desert I had some fresh fruit but that strawberry rhubarb crisp is staring at me.....be strong!!!

      Monday, May 9, 2011

      Lemon Bars....

      I'm not sure why I do this to myself. I'm trying to loose the baby weight but then I go and make lemon bars like this that I simply can not resist. SO of course I had one for breakfast with my cup of coffee...sigh....food is my weakness!! I used my Samoa cookie recipe for the crust it's flaky, not too sweet, and delicious.

      Cookie:
      • 1 cup softened butter
      • 1/2 cup sugar
      • 2 cups all-purpose flour
      • 1/2 teaspoon salt
      • 1/4 teaspoon baking powder
      • 1/2 teaspoon vanilla extract
      • 1 tablespoon milk
      Directions:
      Preheat oven to 350F.
      Cream together butter and sugar in a large bowl. Mix in flour, baking powder and salt at a low speed, next, the vanilla and milk, adding in the milk only as needed to make the dough come together without being sticky. The dough should come together into a soft, pliable ball. Add in a bit of extra flour if your dough seems sticky.

      Press the dough into a 9x13 lightly greased baking dish.

      Bake cookies for 10-12 minutes, until very lightly golden brown around the edges.

      Cool for a few minutes on the baking sheet.


      For filling:
      6 large eggs
      3 cups granulated sugar
      1 cup plus 2 tablespoons freshly squeezed lemon juice
      1/2 cup all-purpose flour
      For garnishing:
      About 3 tablespoons confectioners’ sugar

      In a large bowl, whisk together eggs and granulated sugar until smooth. Stir in lemon juice and then the flour. Pour filling on top of crust.
      Bake until lemon filling is set, about 40 minutes. Let cool to room temperature and then put in the refrigerator for 1 hour or keep at room temperature for 3 hours before cutting. Cut into squares measuring about 2 1/4 inches and dust the tops with confectioners’ sugar.
      Planning Ahead: The squares may be made a day in advance, covered, and refrigerated. Bring to room temperature before serving.

      Monday, March 14, 2011

      Getting closer....

       Chocolate French Macarons with a Chocolate Peanut Butter Genache!!!


      So our baby boy is due to make his appearance in 3 weeks from tomorrow. Wow getting closer now. Today I was really craving something sweet and could not decide what to make. I wanted to try making whoopie pies but did not have all that I needed at home. So then I decided on Macarons. I have not made them in a while and since we will be moving and need to clear out cupboards this was the perfect thing to make. I don't have a recipe for you because I was just throwing things together and just wanted to enjoy myself in the kitchen. I'm not sure when I will be able to or have the time to just relax and bake again. With delivery then taking care of 3 kids 4 and under and moving and getting settled I will be one busy mama. After the baby I will also be giving up sweets till the baby weight comes off so you will not see any sweets posted on here but most likely some healthier meals to help me along the way!!!

      Tuesday, March 1, 2011

      Our new addiction....

      My friend Sara got me addicted to her Home Made Granola. I found a similar recipe that I really like and it's actually the prep that is different more than the recipe. What I really love about home made granola is how versatile it is you can put whatever you like in it, nuts raisins, any kid of dried fruit, sunflower seeds, flax seeds or switch it up every time. Also since Oats are very inexpensive this makes for a cheap snack or breakfast. We like to eat ours for breakfast but I've learned to have a little bag of this in my purse for a snack for myself or the kids who also love this stuff.

      So this is how I usually make ours but feel free to make it your own!!!

      Homemade Granola

      Ingredients:
      4 cups old-fashioned oats (not instant)
      1/2 cup sliced almonds
      1/2 cup chopped pecans
      1 tsp cinnamon
      1/2 tsp salt
      1/2 cup packed light brown sugar
      1/2 cup honey
      1/3 cup vegetable oil
      2 tsp vanilla extract
      1/2 cup raisins
      1/2 cup dried cranberries

      Directions:

      Position rack in middle of oven and preheat oven to 375 degrees. Mix oats, nuts, cinnamon, and salt in a large bowl. In a saucepan combine brown sugar, honey and oil and bring to a simmer over medium heat.
      Remove from heat and stir in vanilla. Pour the hot liquid over the oat mixture, stir and toss until thoroughly mixed.
      Spread granola on a baking sheet lined with parchment paper or a silicone mat and bake until golden brown. about 20-25 min stirring occasionally to ensure even baking. Transfer granola to a large bowl and let cool. If you prefer a more chunky granola like I do mix it right away when you take it out of the oven then let it cool COMPLETELY without touching it at all it will dry into one big sheet then you can just brake it up into chunks and add the raisins and dried cranberries and mix till combined.

      Monday, February 28, 2011

      Waffles.....


      I simply can't believe that I have never posted this recipe. It re visits our breakfast table weekly and on days like today it even makes it's appearance at lunch time. These also freeze well so if you have extra leftover throw em in a freezer bag once they are completely cooled and just pop em in the toaster when you need them.
      I used to own a cheap little $14 waffle maker from wall-mart but over the holidays I purchased this beauty with some gift cards I had received. So worth every penny.... it is simply fantastic. I first bought a Food Network brand waffle maker but it broke on the first waffle I made....can you believe that??? And of course it was on day when we had company for breakfast. I was so mad and took it back. While I was browsing all the different ones they had an older Swedish (how fitting) gentleman chatted me up and recommended that I go to a totally different store and get the round one. At first I dismissed him but then decided to take his advice and I'm glad I did. This thing is AWESOME!!! Now don't get me wrong my little $14 waffle maker did the trick for many years and it was fine but this baby makes them nice and thick and fluffy and cooks them eavenlly and the timer works just right.

      I have been using this recipe for a couple years now. I keep meaning to try something new....different....but sometimes you just don't mess with something that aint broke :)

      Waffles

      2 cups flour
      2 Tbs sugar
      1/2 tsp salt
      3 tsp baking powder (haha ok a little side note here DO NOT use baking soda like my sometimes so helpful husband did the other day) 
      2 eggs seperated
      1 3/4 cup milk
      1/4 cup melted (cooled) butter
      1 tsp vanilla (optional) 

      Directions:

       First you want to beat your egg whites with an electric mixer until nice and stiff then set aside. If you have a kitchen aid then while they are beating mix your dry ingredients in a bowl (flour, sugar, salt, baking powder, not soda :) ) If you do not have a stand mixer it's always a good idea to get these mixed before hand. 
      Next you want to mix your wet ingredients together (egg yolks, milk, butter, vanilla) Make sure your butter is melted but not hot otherwise it will cook your eggs and you do not want that. I usually melt mine in the microwave and just let it sit out a while. Then add the flour mixture and beat till well combined. About 3 minutes. 
      And the last step is to gently fold the egg whites into your batter....there all done. 
      Make sure you do not overfill your waffle maker or you will end up with a mess. 
      Mine came with a nifty little measuring cup and it ensures that I do not overfill. 
      Sometimes I do under fill tho but it's better than a mess. oooo did I mention that this one makes two at a time :) 
       They can't get enough!!!
      No this was not our breakfast it was lunch and YES they are still in their jammies!!!! DO NOT judge I am nesting and have been running around like a crazy woman cleaning EVERY nook of our house. They don;t mindandit'sonly been two days and my house is almost all clean now.....wish it meant that this baby would make it's appearance already.
      purrrrrrfection..........enjoy!!!

      Monday, February 21, 2011

      Samoa Girls Scout Cookies

      It's Girls Scout season and I was so upset when ehh hemmm my sister did not order these cookies for me from her daughter this year. They are my favorite....I LOVE EM!!! When I saw this recipe I just had to try it. They are simply delicious and even better than the ones you order.....don't tell the Scouts I said that don;t want any angry girls at my door step. 

      They are a bit of a fuss to make or maybe it's just that I'm 9 months pregnant and my back hurts and my belly is in the way either way they are worth the effort.


      Samoa Girls Scout Cookies, adapted from A Bicycle Built for Two

      Ingredients for the cookie:
      • 1 cup softened butter
      • 1/2 cup sugar
      • 2 cups all-purpose flour
      • 1/2 teaspoon salt
      • 1/4 teaspoon baking powder
      • 1/2 teaspoon vanilla extract
      • 1 tablespoon milk
      Directions:
      Preheat oven to 350F.
      Cream together butter and sugar in a large bowl. Mix in flour, baking powder and salt at a low speed, next, the vanilla and milk, adding in the milk only as needed to make the dough come together without being sticky. The dough should come together into a soft, pliable ball. Add in a bit of extra flour if your dough seems sticky.

      It's easiest to roll the dough out in 2 or 3 batches (between pieces of wax (or parchment) paper to about 1/4-inch thickness using a 1 1/2-inch cookie cutter to make rounds. Place on a parchment lined or on silicone mat baking sheet and make a hole in the center. I used a bottle cap. Nicole comments that you can use a knife, or the end of a wide straw, to cut a smaller center hole. Repeat until the dough is used up (it's okay to re-roll, this dough is shortbread-like and very forgiving.)

      Bake cookies for 10-12 minutes, until bottoms are very lightly golden brown around the edges.

      Cool for a few minutes on the baking sheet, to allow them to firm up slightly, then transfer to a wire rack to cool completely.

      Ingredients for topping:
      • 3 cups shredded coconut
      • 12 ounces of caramels
      • 1/4 teaspoon salt
      • 3 tablespoons milk
      • 8 ounces chocolate chips
      Directions:
      Preheat oven to 300 degrees (F)

      Spread coconut evenly on a rimmed baking sheet and toast 20 minutes, stirring every 5 minutes, until coconut is golden. Watch carefully, especially near the end of toasting time; the coconut toasts very quickly once it begins to become golden.
      Cool on baking sheet, stirring occasionally. Set aside.

      Unwrap the caramels and place in a large microwave-safe bowl with milk and salt. Cook on high for 3-4 minutes, stopping to stir a few times to help the caramel melt. When smooth, fold in toasted coconut with a spatula.
      Using the spatula or a small offset spatula, spread topping on cooled cookies, using about 2-3 teaspoons per cookie. Reheat caramel for a few seconds in the microwave if it begins to firm up, to make it soft and spreadable once again.

      While topping sets up, melt chocolate in a small bowl. Heat on high in the microwave in 45 second intervals, stirring thoroughly to prevent scorching. (I melted mine stovetop using double boiler method.) Dip the base of each cookie into the chocolate and place on a clean piece of parchment paper (I used silicone baking mats instead). Transfer all remaining chocolate into a piping bag or a ziplock bag with the corner snipped off and drizzle finished cookies with chocolate. (Melt a bit of additional chocolate, if there is not quite enough for each cookie.)
       These are seriously addictive so make them at your own risk. 
      This little guy LOVED em!!!

      Tuesday, February 1, 2011

      Croutons....

      It's winter here....I mean it's a cold, windy, snowy blizzard outside and I am very thankful for the warmth of our home this afternoon and the coffee I'm drinking but will be regretting later wen I'm trying to go to sleep. It seems as though this week I have been baking bread a lot. I made loaves of bread, home made hamburger buns and dinner rolls. I have had ends and pieces left over here and there and I just can't let them go to waste. What do you do with leftover stale bread? Sometimes I dry the pieces of bread in the oven on really low heat then throw the bread in a food processor to use for bread crumbs.This time I made these.....
      Today since it was so yuckie outside I was craving soup. I could not make up my mind as to what kind of soup to make with what I had on hand but when my hubby finally called at 4:00 that he was on his way home I finally settled on this Broccoli Soup. It was definetly the right decision it was so delicious and comforting. I had all these ends and pieces of bread and diced them up to use them with our soup. I used seasonings that would go well with the soup.
      Croutons:

      4 cups of diced bread
      1/4 cup olive oil
      2 Tbsp of butter
      1 Tbsp dried parsley
      1 tsp onion powder
      1 tsp salt
      1/4 tsp pepper
      pinch of cardamom ( I use this in the soup it makes it extra special)

      Directions:

      Pre-heat oven to 450 degrees. Melt the butter and add the olive oil and the rest of the seasonings. Spread the diced bread on a cookie sheet and sprinkle the olive oil mixture over the bread then toss all together using your fingers. Bake at 450 degrees for about 10-15 min or till they crisp up and turn a little brown.
      They were so yummmmmmooooo!!! Made the soup that much more enjoyable. Here is another combo that I like to use for croutons.

      Homemade Garlic Croutons


      1 loaf french bread (a few days old or any other bread you want to use up)
      3 tbsp olive oil
      3 tbsp unsalted butter, melted
      4 cloves garlic, chopped
      2 tsp salt
      1 tsp pepper
      1 tsp Italian seasoning

      Directions : 


      Preheat the oven to 450 degrees F.
      Cut the bread  into small cubes. Transfer cubed bread to a parchment lined baking sheet.
      Drizzle the bread with the olive oil and butter and then sprinkle with garlic, salt, pepper and Italian seasoning.
      Using your hands, gently toss the croutons and make sure they are coated with all the oils, butters and seasonings.
      Bake for 10-15 minutes until they are golden brown. Remove from oven and let cool before serving.
      Such an easy thing but what a yummy addition. 
       Ohh and speaking of buns :) yes this little baby bun is still baking!!! I am 31 weeks today and ready for the arrival but not till he is good and ready :)

      LinkWithin

      Related Posts Plugin for WordPress, Blogger...